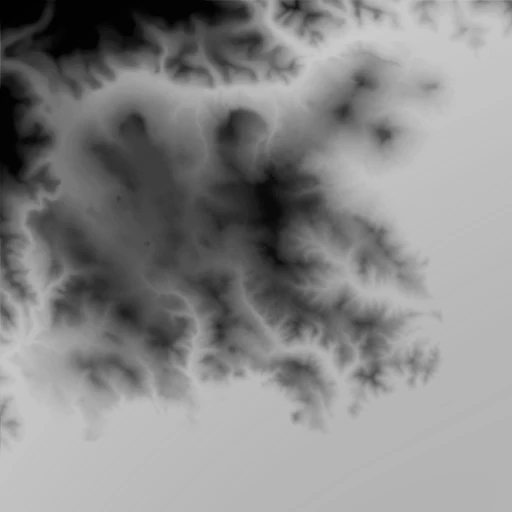
One possible approach to add realistic looking mountains to your map is to use existing heightmap data from the real world. For that you need to get yourself some heightmap resources. In this tutorial we will use this heightmap:
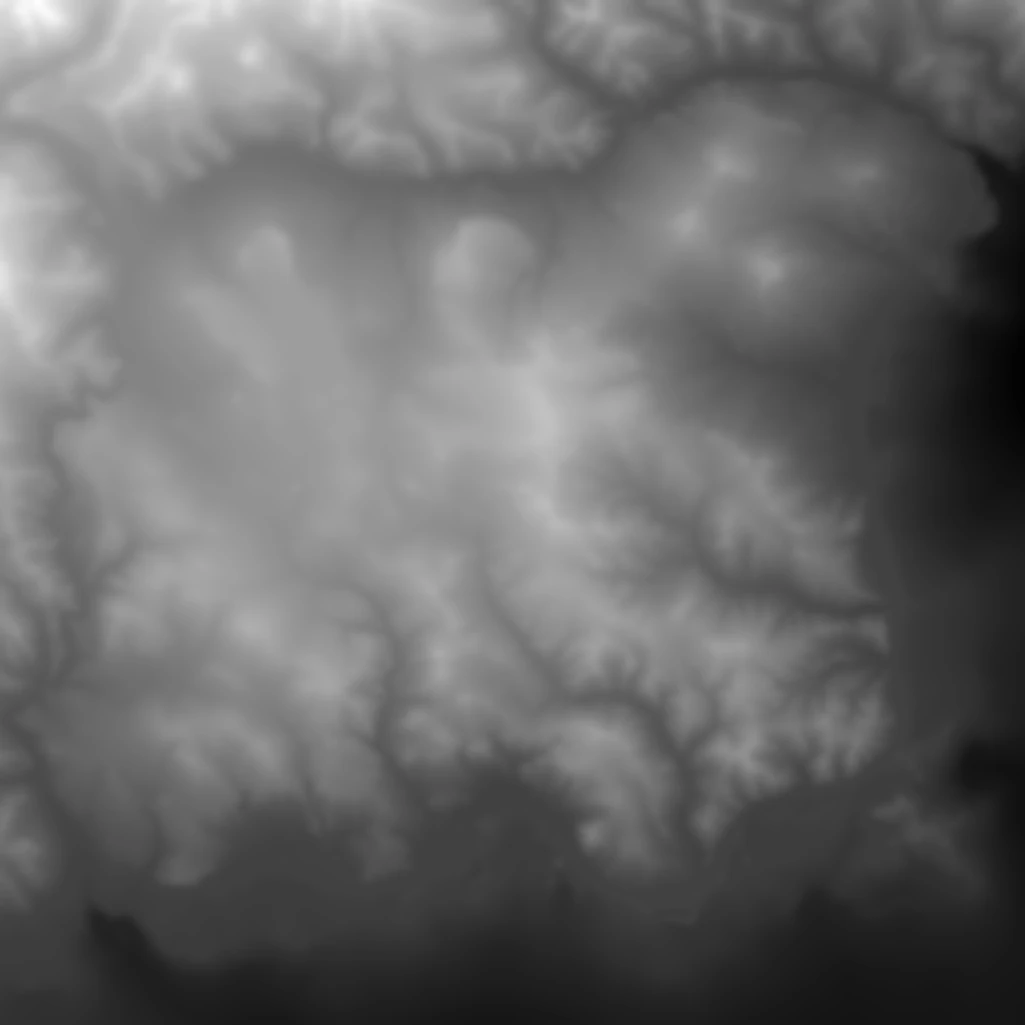
To use images like the above as input files for the map editor, they must have the correct dimensions:
- RAW file format
- 16 bit color depth
- single channel
- map width+1 as width (e.g. 20 km map width ⇔ 1024 map length units in width)
- map height+1 as height
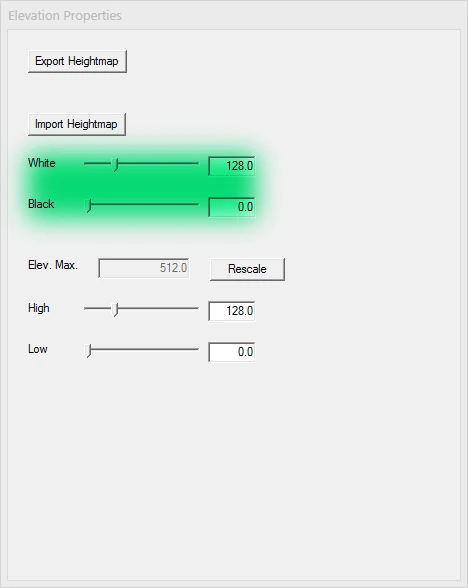
Once you have brought your heightmap file to meet these requirements you can import it in the editor. You might have to tweak the height level corresponding to black and white in your heightmap file.
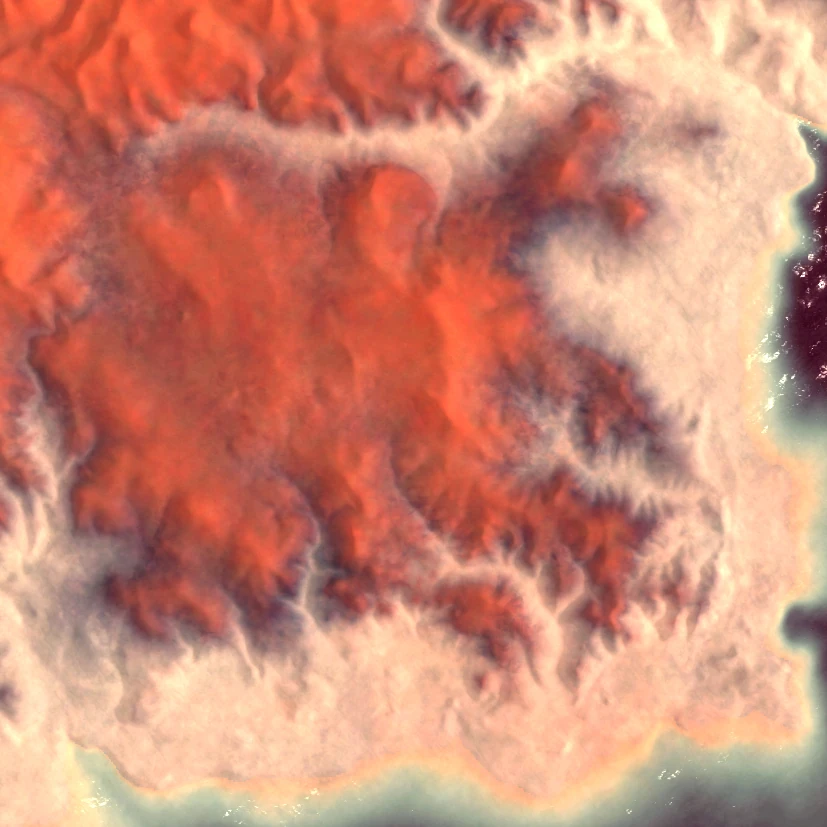
After the import our map (which has been primed with random clouds strata) looks like this:
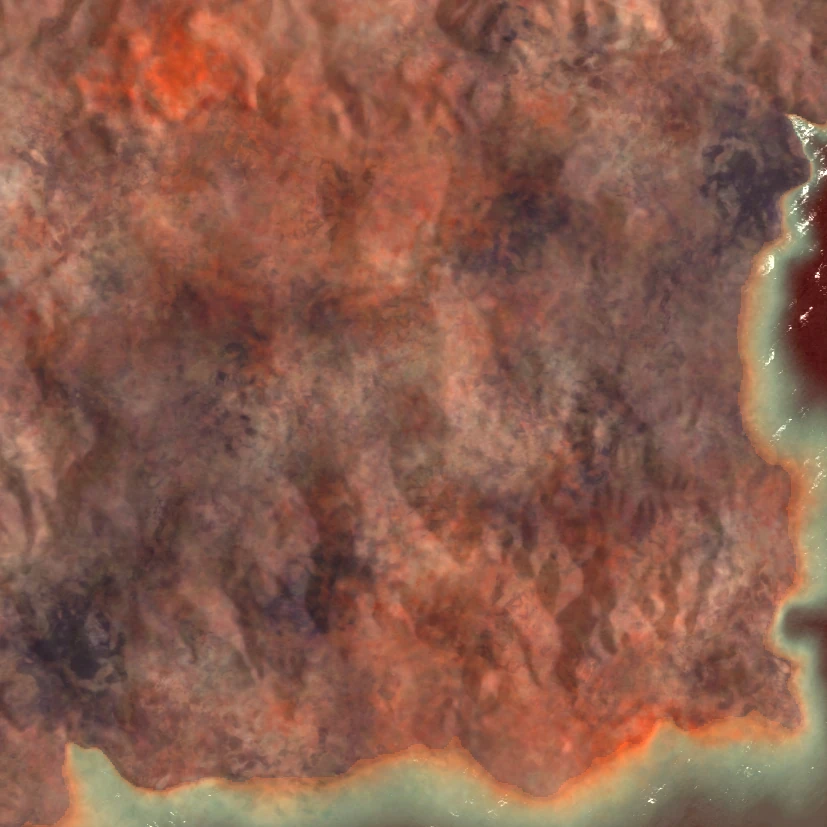
There is still room for improvement. Therefor we now use our heightmap file as a texture mask. For that we need to halve its size (rounding down; e.g. 1025*1025 becomes 512*512). Furthermore we need to change the color depth to 8 bits. When we import this new file as the mask for an additional stratum we end up with something like this:
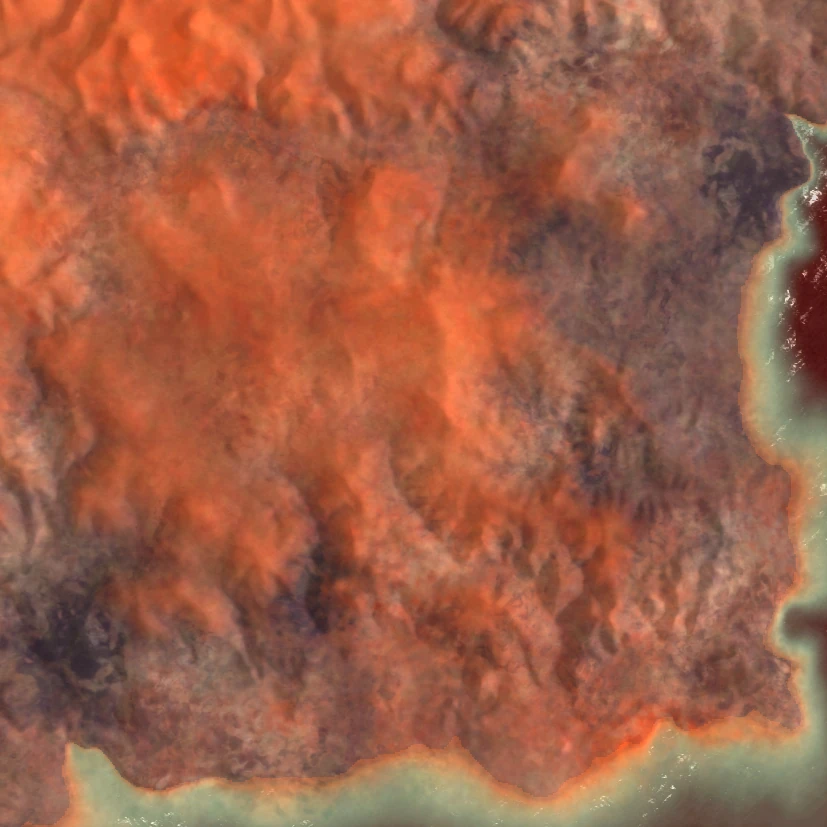

Now we go back to our texture mask and invert it, so it looks like this:

We import this for yet another stratum and end up with this:

There are certain drawbacks to this method. Using the heightmap as a texture mask will only allow to color height differences, but not differences in convexity. This can be achieved by a method that uses an actual terrain editor.